0:54 narrated video with captions
Roof Replacement Cost Guide: What to Check and Ask
Takeaway: A replacement estimate is useful only when you understand the work behind the price.
Read the transcript
A replacement estimate is useful only when you understand the work behind the price. This guide uses your real proposal, not invented Edmond averages or a roof size guessed from the floor plan. Ask how the actual roof area, slope, access, and tear off are measured. Check how decking changes are priced and approved if hidden damage becomes visible after materials are removed. Read which flashing, vents, underlayment, and adjoining details are replaced or reused. A lower headline price may exclude work that another proposal includes, so compare matching scopes rather than totals alone. Valleys and steep sections can change access and installation work. Ask about disposal, cleanup, payment terms, and written warranty limits. Record unanswered questions before agreeing to a replacement contract. Bring the checklist to your conversation or request an estimate with your property ZIP. Submission is not a booked inspection or guaranteed free physical visit. The actual provider must confirm its offer.
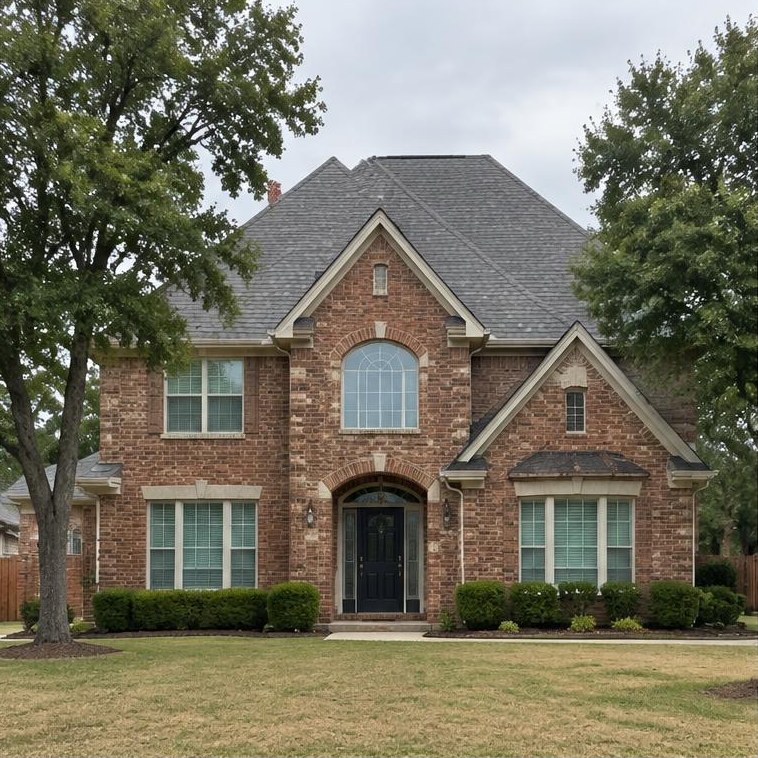
AI-made example scenes and AI voice, not footage from a verified Edmond property or customer job.
Step 1: Roof size
Roofers measure in 'squares.' One square covers 100 square feet of roof. Your roof is bigger than your floor plan because of slope and overhangs.
Step 2: Materials
The material line is usually the biggest choice you control.
- 3-tab asphalt shingles
- Architectural shingles
- Impact-resistant (Class 4) shingles
- Metal panels or standing seam
Step 3: Labor and difficulty
Steep roofs, many valleys, dormers, and second stories take more time and safety gear. That shows up in labor.
Step 4: Hidden items
Ask how each of these is handled.
- Rotted decking: price per sheet
- Extra layers to tear off
- New drip edge, flashing, and vents
- Permits and dumpster
Step 5: Read the warranty
There are two warranties: the maker's warranty on materials and the roofer's warranty on workmanship. Get both in writing.
Failure diagnostics: what to look for
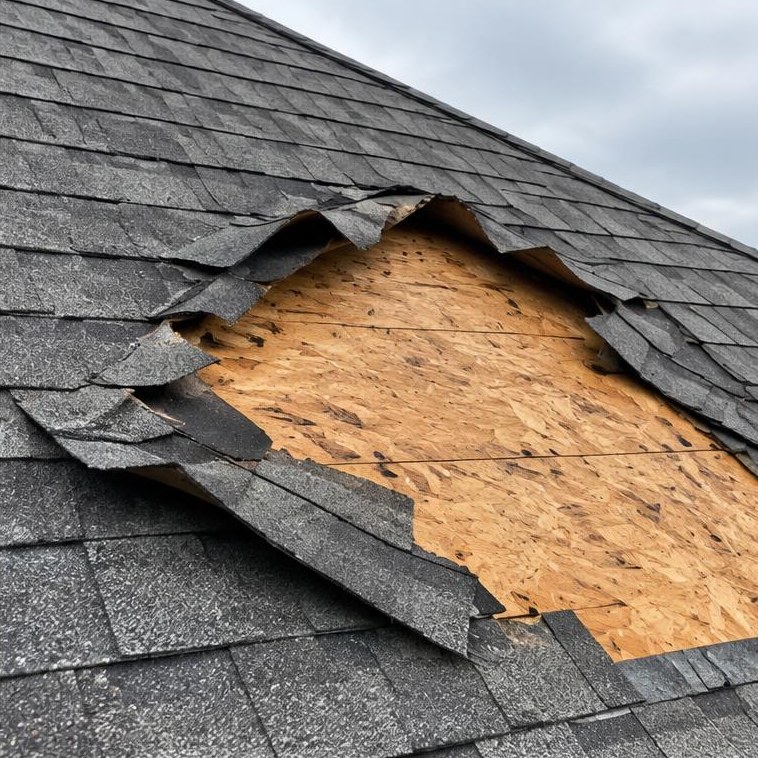
Exposed decking under shingles
- What You See
- The roof surface shows wear, creases or a missing section.
- The Hidden Hazard Below
- A surface defect may expose lower layers. The extent and cause cannot be settled from this example.
- The Correct Repair
- Ask whether localized repair can integrate with sound materials and which findings justify broader work.
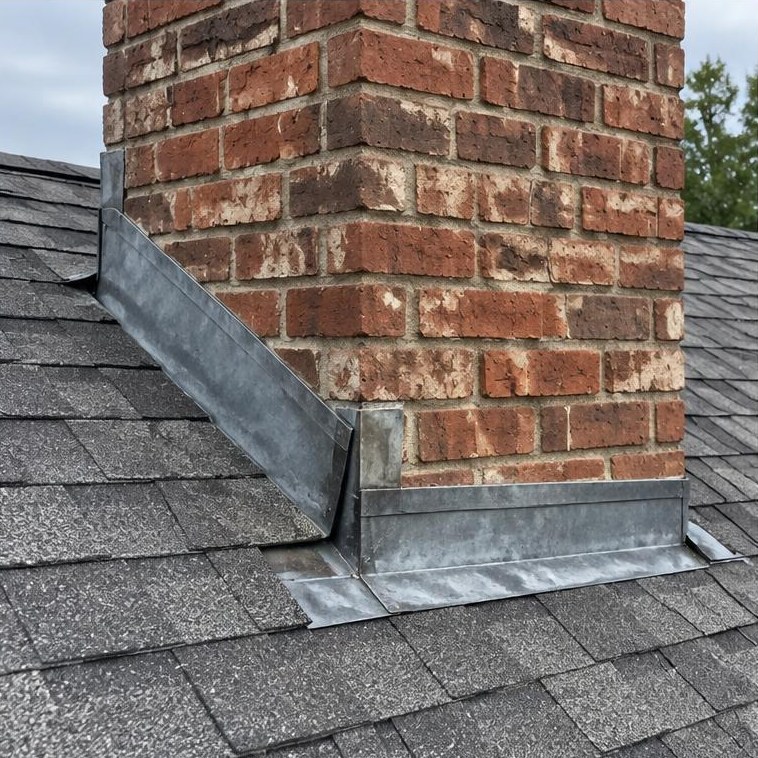
Chimney flashing detail
- What You See
- This is a roof-to-wall or chimney junction.
- The Hidden Hazard Below
- Water may pass behind loose, worn or poorly integrated flashing. The concealed layers are not visible here.
- The Correct Repair
- Ask for an explanation of the flashing layers and a written scope that addresses the confirmed fault.
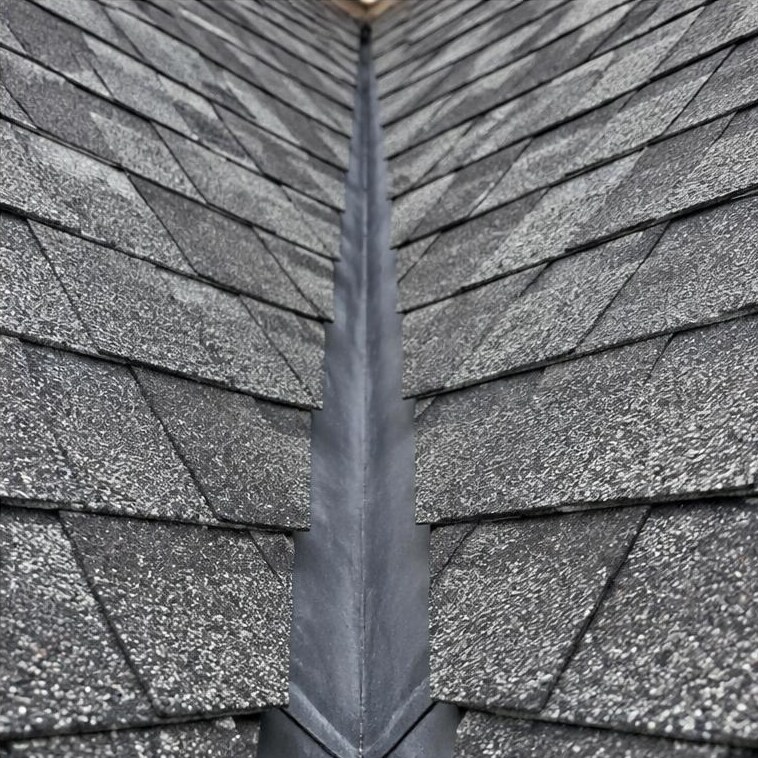
Roof valley detail
- What You See
- The meeting line between roof slopes carries concentrated runoff.
- The Hidden Hazard Below
- Leaves or worn layers may interrupt drainage. Hidden membrane condition needs professional evaluation.
- The Correct Repair
- Ask a roofer to check drainage, surrounding shingles and the valley lining. Stay off the roof.
AI-made educational examples, not photos of verified local properties or customer jobs. These images do not diagnose your roof.